Verification of Property Condition
The final walkthrough is one of the last things standing between your buyer and the keys. It sounds routine. In practice, it's where deals quietly unravel, or where problems get swept under the rug because everyone just wants to close. The Verification of Property Condition (VP) is the form that makes this step official. It documents what your buyer found, confirms the property matches what was agreed to, and gives you a written record before funds transfer. Skip it or rush it, and you're gambling with your client's money and your own liability.
Why This Document Matters
California's purchase agreement obligates the seller to deliver the property in the condition it was in at the time of acceptance, with agreed-upon repairs completed. The VP is how you confirm that actually happened. Without it, you have no written proof the buyer accepted the property's condition at closing. That matters more than people think.
If a buyer closes without completing the VP and later discovers a system wasn't working or a repair wasn't done, it becomes a "he said, she said" situation with real legal and financial stakes. The VP protects your buyer by capturing their observations on record. It also protects you as the agent by showing you did your job and walked the property with your client before closing.
This isn't a form agents talk about much, but it belongs in every closing file. The California Association of Realtors includes it as a standard practice document for exactly this reason.
How It Works
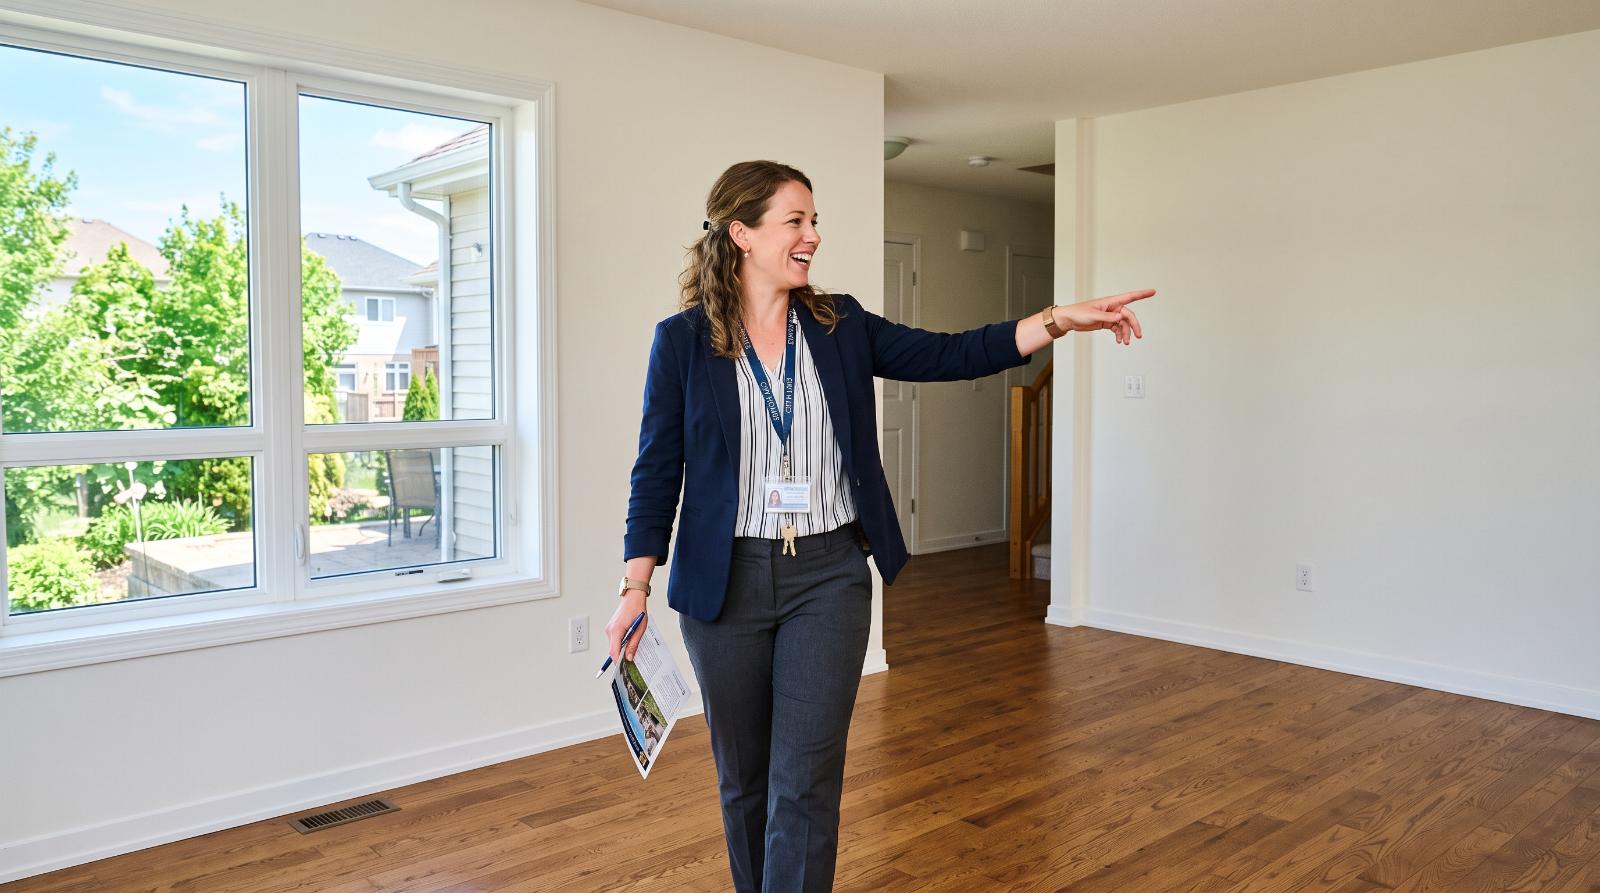
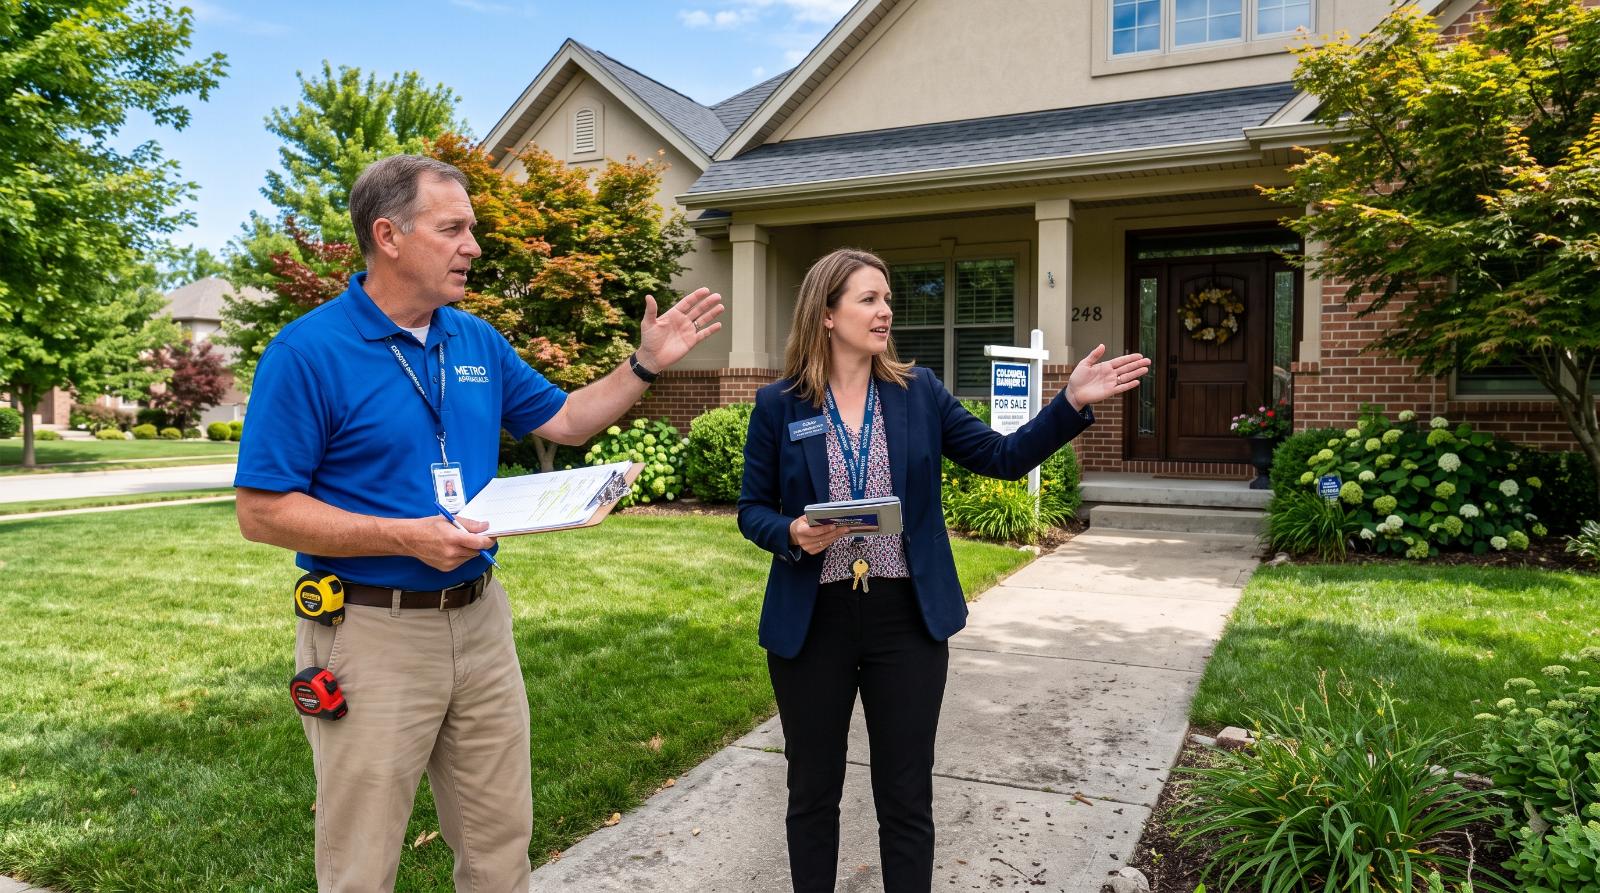
The VP is completed during the final walkthrough, which typically takes place within 5 days of close of escrow. Your buyer physically walks the property with you, checks every room, tests the systems and appliances, reviews any repairs that were negotiated, and confirms the personal property that was supposed to stay is still there.
Once the walkthrough is done, the buyer signs the VP. If everything checks out, it signals they accept the property's condition and are ready to close. If something's off, you document it on the form before signing and figure out how to resolve it with the listing agent.
It's a short window, but it's the buyer's last real chance to flag problems before they own them.
Key Sections Explained
Property Condition Verification is the heart of the form. The buyer is confirming the property is in the same general condition it was in when they made their offer. You're looking for anything that has changed, deteriorated, or been altered.
Repairs Completed as Agreed is where you cross-reference whatever was negotiated during inspection. If the seller agreed to fix the HVAC, replace a water heater, or patch a roof section, your buyer needs to physically verify that work was done, not just take the seller's word for it.
Personal Property Included covers any items the contract said would stay with the house. Refrigerators, washer/dryer units, window treatments, TV mounts, outdoor furniture, anything that was included in the purchase terms. If it's not there, that's a problem.
Systems Operational means testing things, not just looking at them. Run the dishwasher. Turn on the furnace. Check the A/C. Run water in every sink. Flush toilets. If something doesn't work, now is the time to know.
Acknowledgment of Any Issues is where you document what wasn't right. This section matters. If you note something here and still proceed to close, you're capturing that the issue was known. If you close without noting it, you lose that protection entirely.
Common Mistakes to Avoid
Skipping the walkthrough entirely. This happens more than it should, especially on back-to-back closings or when buyers are traveling. It is a mistake every time. There is no version of this where skipping it is the right call.
Not verifying repairs were actually made. A seller saying "the repairs are done" is not the same as your buyer confirming the repairs are done. Get a copy of the receipts or contractor invoices and cross-check them in person. Disclosure coordination throughout the transaction makes this easier because the documentation trail is already organized.
Rushing through the walkthrough. Walkthroughs scheduled 30 minutes before the closing appointment are a setup for missed problems. You need real time to check every system, every room, and every negotiated item. Block out at least an hour.
Not noting problems before signing. If the buyer sees something wrong and signs anyway without noting it, they've just accepted it. Whatever leverage existed to address the issue disappears with that signature.
Signing before resolving issues. If there's a problem, the VP should not be signed until there's an agreed resolution. That might mean a credit, an escrow holdback, or a delay. What it should not mean is your buyer signing off on a condition they're unhappy with and hoping it works out.
Pro Tips from a TC
Never skip the final walkthrough. This one is non-negotiable. No matter how smooth the transaction has been, no matter how cooperative the seller, no matter how tight the timeline. Walk the property.
Bring the repair request documents with you. Print the Request for Repair (RR) or whatever addendum was used to document agreed repairs. Walk through each item line by line and physically verify each one was completed.
Test every appliance and system yourself. Don't just ask the seller or listing agent if things are working. Turn them on. Run them. A dishwasher that "works fine" according to the seller and a dishwasher that actually completes a wash cycle are sometimes two different things.
Take photos during the walkthrough. They aren't part of the VP form itself, but timestamped photos of the property's condition at walkthrough are smart documentation to keep in the file.
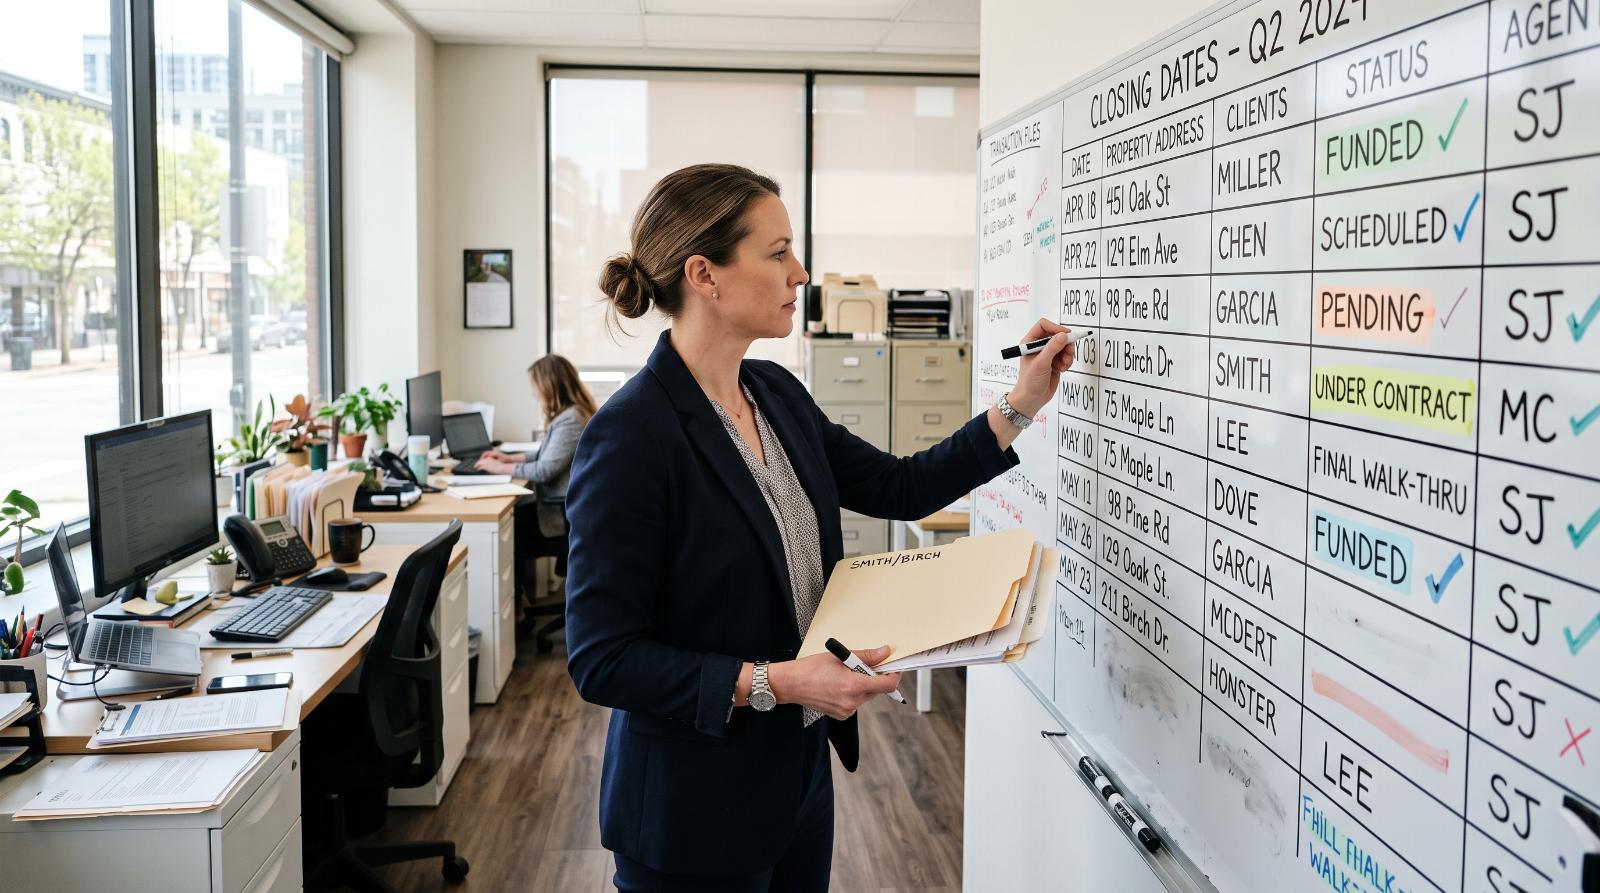
If you're managing multiple closings at once, a TC can help you track which walkthroughs are scheduled, what repair items need to be verified, and what documentation should be in the file before and after the walkthrough. Check out how to manage 10 deals at once without losing your mind if that's where you're at.
Also, pay attention to the timeline. If something comes up during the walkthrough that needs to be resolved, you need enough runway before the close of escrow to do something about it. Deadline management matters here. A last-minute walkthrough that reveals a problem with no time to address it is a stressful situation that's largely avoidable with good scheduling.
Related Documents
The VP doesn't live in isolation. It connects to several other documents in the transaction file.
- Request for Repair (RR) is the document that created the repair obligations you're verifying at the walkthrough
- Buyer's Inspection Advisory (BIA) sets the foundation for the buyer's inspection rights throughout the transaction
- Contingency Removal (CR) documents when the buyer released their inspection contingency, which is separate from the final walkthrough
- Transfer Disclosure Statement (TDS) is one of the foundational condition documents you may reference during the walkthrough
Browse the full California real estate documents library for more.
Frequently Asked Questions
Q: What happens if the buyer finds a problem during the final walkthrough?
Do not sign the VP until there's a resolution. If the property isn't in the agreed-upon condition or repairs weren't completed, you have options. The buyer can request a credit in lieu of repairs, the parties can agree to an escrow holdback while work is completed, or closing can be delayed to give the seller time to address the issue. The key is not proceeding to close with an unresolved problem that the buyer hasn't formally acknowledged. Once that form is signed and funds are transferred, the leverage is gone.
Q: Is the final walkthrough required in California?
The VP is required by CAR standard practice as part of the residential purchase agreement process. Technically a buyer can waive their right to do a walkthrough, but that's rarely a good idea and you should document that waiver clearly if it happens. In most transactions, completing the VP is a standard closing step. For more on how California closings work, why California escrows are taking longer in 2026 gives some useful context on the current environment.
Q: When should the final walkthrough be scheduled?
Within 5 days of close of escrow is the standard window. Practically speaking, you want it close enough to closing that the sellers have already vacated, so you can inspect the full property in its delivered condition. But not so close that you have zero time to respond if something isn't right. Two to three days before the scheduled close of escrow is a reasonable target in most transactions. Work with your escrow officer and the listing agent to find a time that gives you room to act if needed.
Q: What is the final walkthrough requirement for a property sale in California?
Under the standard CAR purchase agreement, buyers have the right to a final walkthrough within 5 days of close of escrow to confirm the property's condition and verify that agreed-upon repairs were completed. That walkthrough is documented using the Verification of Property Condition form covered on this page.
The VP is a short form, but it carries real weight at the end of a transaction. It's the buyer's last checkpoint before they own the property, and it's your documentation that the closing was handled properly. If you're managing multiple closings and finding it hard to give each one the attention it deserves, that's exactly what a virtual TC service like Relaxed Agent is built for. We handle the coordination so you can actually show up to that walkthrough present and prepared.
Learn About Other Documents
Notice to Buyer to Perform
A notice from the seller demanding that the buyer perform a contractual obligation (such as removing contingencies or depositing funds) within a specified time period.
Demand to Close Escrow
A formal notice demanding that the other party close escrow by a specific date when a transaction has passed its scheduled close of escrow date without a valid reason for delay.
Addendum
A document used to modify, add to, or clarify terms in the purchase agreement after it has been executed by all parties.

![ME[QR]](https://cdn.prod.website-files.com/66f7368d5212d8702498cf0a/6733f1777dc663a2031e8238_markus-winkler-QuZThQoxwm4-unsplash.jpg)